
How to Switch IPTV Providers Without Losing a Single Channel (2025 Guide)
 You could save hundreds of dollars yearly by choosing the right IPTV provider instead of traditional cable. The market now has thousands of IPTV providers, and finding your perfect match might seem daunting. The benefits make it worth learning about your options.
A common worry stops many users from switching their IPTV services – they don’t want to lose their favorite channels. This makes sense, since some IPTV subscriptions give you access to more than 20,000 channels and 70,000+ on-demand titles. The top IPTV providers in 2025, such as IPVOS.COM IPTV and NEXOTT.NET, offer huge content libraries and let multiple users connect at once. The good news is that you can switch between IPTV providers and keep all your channels if you know what you’re doing.
This piece will guide you through each step to safely change your IPTV subscription while keeping all your preferred content. We’ll cover everything from saving your channel lists to making sure it all works after the switch. Your viewing won’t skip a beat!
Understand Your Current IPTV Setup
A thorough inventory of your current setup should happen before you switch to a new IPTV provider. You’ll want to understand what you have now to make sure nothing gets lost when you change providers. Here’s how to break down this vital first step.
Check your active IPTV subscriptions
Start by checking your current subscription details. Most IPTV services give you an online dashboard to check your account status. Here’s how to access this information:
- Log into your IPTV provider’s website using your credentials
- Go to “My Services” or “Subscription” section
- Check expiration dates, active channels, and any add-on services
- Write down your subscription type (M3U, Xtream Codes, or other formats)
Many services let you check subscription status right from your IPTV app. Apps like TiviMate show subscription details through the Settings > Playlists > Provider section. Some providers also give you dedicated tools to check your subscription status without website login.
Identify the devices and apps you use
Make a list of all devices connected to your IPTV service. This step matters because most providers put limits on how many devices you can connect at once.
Your list should include:
- Hardware devices: FireStick, Android Box, Smart TV models, smartphones, tablets
- Operating systems: Android, iOS, Windows, macOS
- IPTV applications: TiviMate, IPTV Smarters Pro, Perfect Player, GSE Smart IPTV
Note that device compatibility differs between providers. Android-based systems give you the most flexibility and let you sideload unverified IPTV APK files. This means devices like Apple TV, Roku, or smart TVs with their own operating systems might not work with some IPTV services.
Note down your favorite channels and settings
Document your personal settings so you can set them up again later. Most IPTV apps let you mark channels as favorites for quick access. In apps like IPTV Smarters Pro, you can add channels to favorites by holding the OK button on your remote until a menu appears, then selecting “Add to Favorite”.
Also write down:
- Channel groups you’ve created
- Custom EPG (Electronic Program Guide) settings
- Playback priorities (resolution, audio settings, buffering)
- Parental controls and access restrictions
TiviMate users should save their custom settings like logos priority, EPG update intervals, and channel name formatting. You’ll also want to document any special integrations with other systems like property management systems or digital signage.
This complete inventory takes time but helps ensure a smooth switch between IPTV providers. Having all this information ready helps you assess new services based on what you actually need rather than just looking at feature lists.
Backup Your IPTV Channel List and Settings
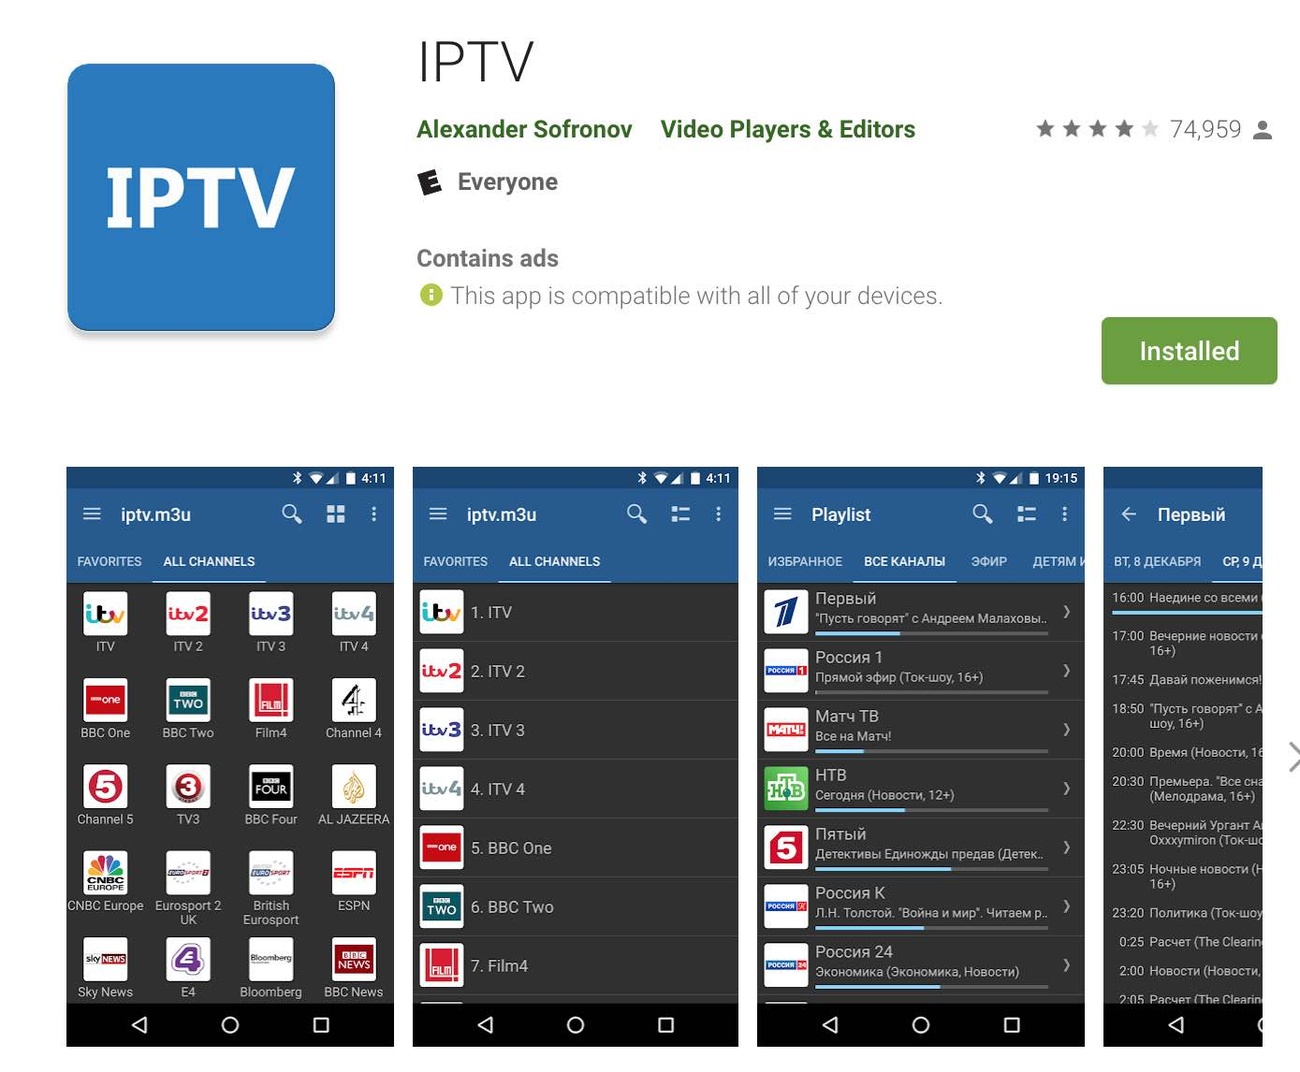
Image Source: Lemmy Morgan
A well-documented IPTV setup with proper backup serves as your safety net to switch providers smoothly. Your playlists and settings stay protected, so you won’t lose access to your favorite content during the transition.
How to export playlists (M3U, Xtream Codes)
IPTV services deliver content through M3U playlists or Xtream Codes API. You can export both formats to keep them safe:
For M3U playlists:
- Access your IPTV provider’s customer portal
- Locate the “Download Playlist” or similar option
- Save the .m3u or .m3u_plus file to your device
- Store in a secure location (cloud storage recommended)
Your provider might only offer Xtream Codes access. You can convert it to an M3U file using tools like xtream2m3u. This tool connects to Xtream API-based services, gets available streams, and creates a compatible M3U playlist. The conversion follows this format:
http://[server-address]/get.php?username=[your-username]&password=[your-password]&output=ts&type=m3u_plus
Some providers block M3U URL access, which makes direct conversion tough. Proxy services like m3u4u or iptvboss can help because they take Xtream codes details and create usable M3U files.
Saving app settings and priorities
IPTV apps have built-in backup features to save your customized settings:
TiviMate (Android):
- Go to Settings > General > Backup
- Select a storage location for your backup file
- To restore on another device, install TiviMate, go to Settings > General > Restore, and select your backup file
You can share backups between multiple devices through:
- USB transfer if your devices have compatible ports
- Network file sharing via apps like “Send Files to TV” on the same network
- SMB server setup by sharing a drive on your computer (available via smb://[your-computer-IP])
A good backup has your channel list and key settings like channel ordering, logos priority, EPG settings, and channel name formatting rules you’ve set up.
Tips for manual backup if export is not available
Manual documentation becomes crucial when automatic exports aren’t possible:
- Screenshot method: Capture your favorites lists, channel groups, and important settings screens
- Video recording: Record yourself scrolling through your channels and settings for reference
- IPTV Editor tools: Use third-party IPTV playlist editors to save and modify channel lists before switching
- Manual channel notation: List critical channels, their numbers, and specific settings in a spreadsheet
Different providers use different identifiers for the same channel. Create a list of must-have channels by name instead of relying on channel numbers or IDs.
Check your backup before switching providers. Make sure you have:
- A current copy of your playlist file
- Exported application settings
- Documentation of channel arrangements
- EPG (Electronic Program Guide) URL if provided separately
These backups will help you move to your new IPTV provider while keeping your viewing experience intact.
Switch to a New IPTV Provider Safely
You’ve protected your IPTV settings, and now it’s time to switch providers. The market has thousands of IPTV providers in 2025, so a careful switch will help you keep watching all your favorite content.
Choosing a compatible IPTV service
Your new IPTV service should work well with your current setup. Here are some key things to look for:
Device compatibility comes first. Your new provider needs to support all your streaming devices – Android boxes, iOS devices, Firesticks, or Smart TVs. Most users pick Android-based devices because they’re easier to customize with IPTV apps.
Internet speed plays a vital role too. HD streaming needs at least 10 Mbps, while 4K content needs 25 Mbps to run smoothly. Households with multiple viewers will need even more bandwidth.
Make sure the provider gives you flexible connection options. Look for services that let you stream on multiple devices with one subscription. Reading reviews about uptime can tell you a lot – the best providers keep their service running 99.8% of the time during tests.
Free trials (usually 24-48 hours) are a great way to get real experience with the service. Numbers and specs can’t tell you everything about service quality.
Steps to add a new provider without deleting the old one
Here’s how to keep watching while you make the switch:
- Install a versatile IPTV player that handles multiple playlists (TiviMate, IPTV Smarters Pro, or Perfect Player work great)
- Create a new profile or playlist entry in your IPTV app instead of replacing old settings
- Enter the new provider’s credentials using their connection method (M3U URL, Xtream Codes, or MAC address)
- Label both providers clearly in your app (like “Current Provider” and “New Provider”)
- Configure EPG separately for the new provider based on their guide
Good IPTV apps let you switch between different providers with just a few clicks. This makes it easy to compare services side by side.
Testing the new provider before full switch
Before you cancel your old subscription, test the new service in different situations:
Watch during peak viewing hours (weekday evenings or big sports events) to see how it handles heavy traffic. Look for video quality issues, buffering problems, and consistent stream speeds during busy times.
Create a checklist to compare important features:
- Channel availability – Check if all your must-have channels are there
- Video quality – Look at picture quality and stability across different shows
- EPG accuracy – Make sure the program guide is complete and up-to-date
- Connection reliability – Try it on different devices and networks
- Customer support responsiveness – Send a test message to check their service
A service might look perfect during a quick test but show problems later. That’s why you should use both services for at least a week before deciding.
Once you’re happy with how the new provider performs in all these areas, you can cancel your old subscription and keep enjoying your channels without interruption.
Verify Channel Availability After Switching
Your new IPTV provider connection works great, but now you need to make sure all your channels are there. Many users realize they’re missing channels after canceling their old subscription. Let’s help you avoid that headache.
How to check if all channels are intact
A quick channel check should be your first priority:
- Open your IPTV application and browse through each channel category
- Test several channels from each category, especially your favorites
- Check both live channels and video-on-demand content if included in your subscription
- Verify that EPG (Electronic Program Guide) information displays correctly
The IPTV channels list window shows two main parts: a numbered channel list sits on the left while an info panel displays channel details and URLs on the right. Channel search features help you find specific content quickly when you have a large library.
What to do if some channels are missing
Channels can go missing for several common reasons:
- Geographical restrictions limit certain channels to specific regions
- Content provider disputes affect channel availability
- Technical limitations on server networks
- Subscription issues if payments haven’t processed correctly
You can try these steps to get your missing channels back: restart your device and app, update your playlist, test your internet connection, scan for hidden channels, and reach out to your IPTV provider. Recent nationwide crackdowns on illegitimate IPTV services have affected channel availability, so make sure your provider operates legally.
Using content manager tools to organize channels
Content management tools make it easier to stay organized when switching providers. Quality IPTV applications come with built-in content managers that let you:
- Create specific library folders for different types of content
- Hide unwanted channel bouquets to condense your list
- Organize channels into custom categories
- Set up “My Channels” folders for quick access to favorites
The core team should find these content management systems easy to use without needing deep technical knowledge. Some applications show visual topology views of all users and groups with their assigned channels.
Troubleshoot Common Issues After Switching
Technical problems can pop up even after careful preparation with a new IPTV provider. You can quickly get back to streaming without hassle by learning about common problems and their fixes.
Fixing missing channels
Your missing channels usually stem from specific issues rather than complete service breakdowns. Here’s what might cause this:
- Geographical restrictions – Some channels only work in certain regions
- Content provider disputes – IPTV services need contracts with broadcasters, like in cable TV
- Server overload – Too many viewers at peak times can overload servers
- Subscription verification issues – Payment glitches can block your channel access
Here’s how to get your channels back:
- Restart your device and IPTV app to refresh everything
- Get the latest playlist version from your provider
- Check your internet speed (you need 10 Mbps for HD, 25-30 Mbps for 4K)
- Look for hidden channels in your IPTV app settings
Resolving login or connection errors
You might see error messages like “Authorization failed” or “Login invalid” when connection problems happen. Here’s what you can do:
- Check your credentials again – they’re case-sensitive
- Clear your app’s cache (Settings > Apps > IPTV App > Clear Cache)
- Update your IPTV app
- Make sure your subscription hasn’t expired
- Turn off firewalls or security software that might block IPTV traffic
Messages saying “account does not exist” usually point to account problems rather than technical issues. Check with your provider about your subscription status.
When to contact your IPTV provider for help
Reach out to support when:
- Nothing works after trying multiple fixes
- Server problems seem likely (check if others have similar issues)
- Your subscription looks inactive despite paying
- Channels keep disappearing after you fix them
- Many channels stop working at once
Good IPTV providers offer help through website chat, email, social media, or support tickets. Make sure you have details ready about your issue (your device, exact error messages, problem channels) to get faster help.
Of course, if your provider doesn’t respond or can’t fix ongoing problems, maybe it’s time to switch to a more reliable IPTV service.
Conclusion
Switching IPTV providers doesn’t have to be stressful or put your favorite channels at risk. In this piece, we’ve laid out a step-by-step approach that will give you uninterrupted access to all your content during the switch. Your current setup’s understanding creates a solid foundation to make the switch successful. A backup of your channel lists and settings acts as a safety net to protect your carefully curated viewing experience.
Picking a compatible provider becomes much easier once you know what you need. Running both services at the same time helps you find potential problems before fully committing. It also helps to check channel availability right after switching to fix any issues quickly instead of finding missing content later.
Being patient during the transition will pay off. Most technical problems have simple solutions you can handle yourself before reaching out to support. Note that even the best IPTV services can have temporary issues, but good providers fix them fast.
The ability to switch between IPTV providers gives you a big advantage over traditional cable subscriptions. This detailed guide gives you the knowledge to switch providers confidently whenever better options come up. You won’t lose a single channel in the process. Your perfect streaming experience is ready – uninterrupted and tailored just the way you like it.
FAQs
Q1. How can I ensure I don’t lose any channels when switching IPTV providers? Before switching, back up your channel list and settings, choose a compatible new provider, and test both services simultaneously. Verify channel availability after switching and troubleshoot any missing channels promptly.
Q2. What should I do if I can’t find some of my favorite channels after switching IPTV providers? First, check if the channels are hidden or in different categories. If still missing, contact your new provider to see if they offer those channels. You may need to update your playlist or check for geographical restrictions affecting certain content.
Q3. Can I keep my current IPTV setup while testing a new provider? Yes, many IPTV applications support multiple playlists. Install a versatile IPTV player that allows you to add a new provider’s credentials without overwriting your existing settings. This way, you can compare services side-by-side before fully committing to the switch.
Q4. How do I transfer my favorite channels and custom settings to a new IPTV service? Most IPTV applications have built-in backup functionality. Export your settings and playlists from your current app, then import them into the new service. If automatic export isn’t available, manually document your favorites and settings through screenshots or spreadsheets.
Q5. What should I consider when choosing a new IPTV provider to ensure compatibility with my devices? Check the new provider’s device compatibility, internet speed requirements, and connection options. Look for services that support your streaming devices, offer appropriate video quality for your internet speed, and allow multiple simultaneous connections if needed. Consider trying a free trial to test compatibility before subscribing.